Connecting your IgorBox
The system is designed to be as simple as possible to set up. The IgorBox is a plug-and-play device that connects to the internet and IgorBox.com.
Add to your Account
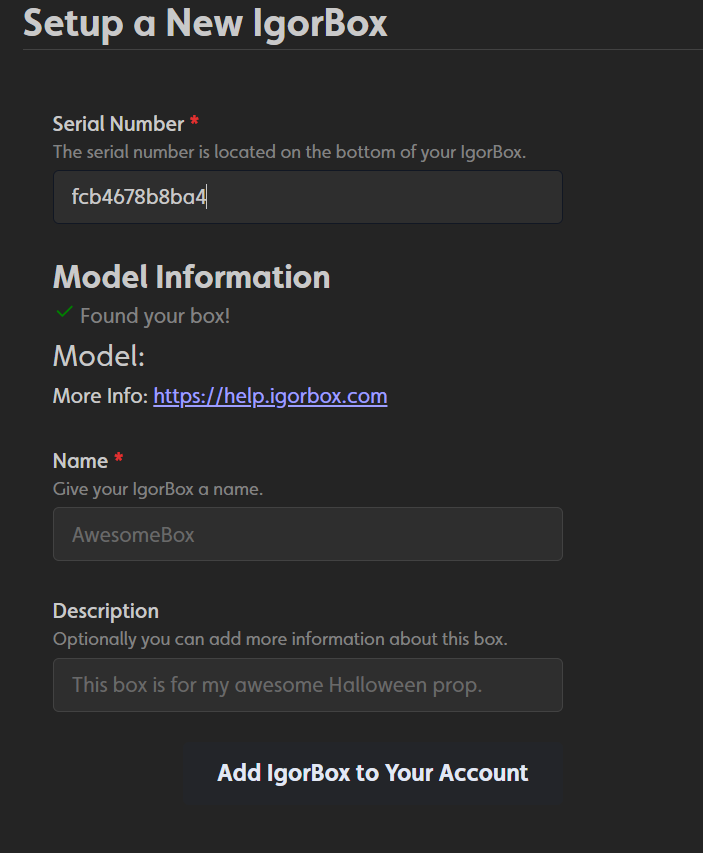
On the bottom of your IgorBox, you will find a sticker with a QR code. This QR code is used to connect your IgorBox to IgorBox.com. This will take you to the setup page with the serial number pre-filled. If you are not able to scan the QR code, you can manually enter the serial number on https://app.igorbox.com/setup.
This will look up your device type and validate that its free to be added to your account.

Connect your IgorBox to the Internet
The IgorBox connects to the internet using WiFi. When you power it on, it will create a WiFi network called IgorBox_xxxxxx where xxxxxx is the last 6 characters of the serial number.
The WiFi network password is the same as the serial number.
Once you connect to the WiFi network, you will be redirected to the setup page. If you are not redirected, you can navigate to http://igorbox/ in your browser.
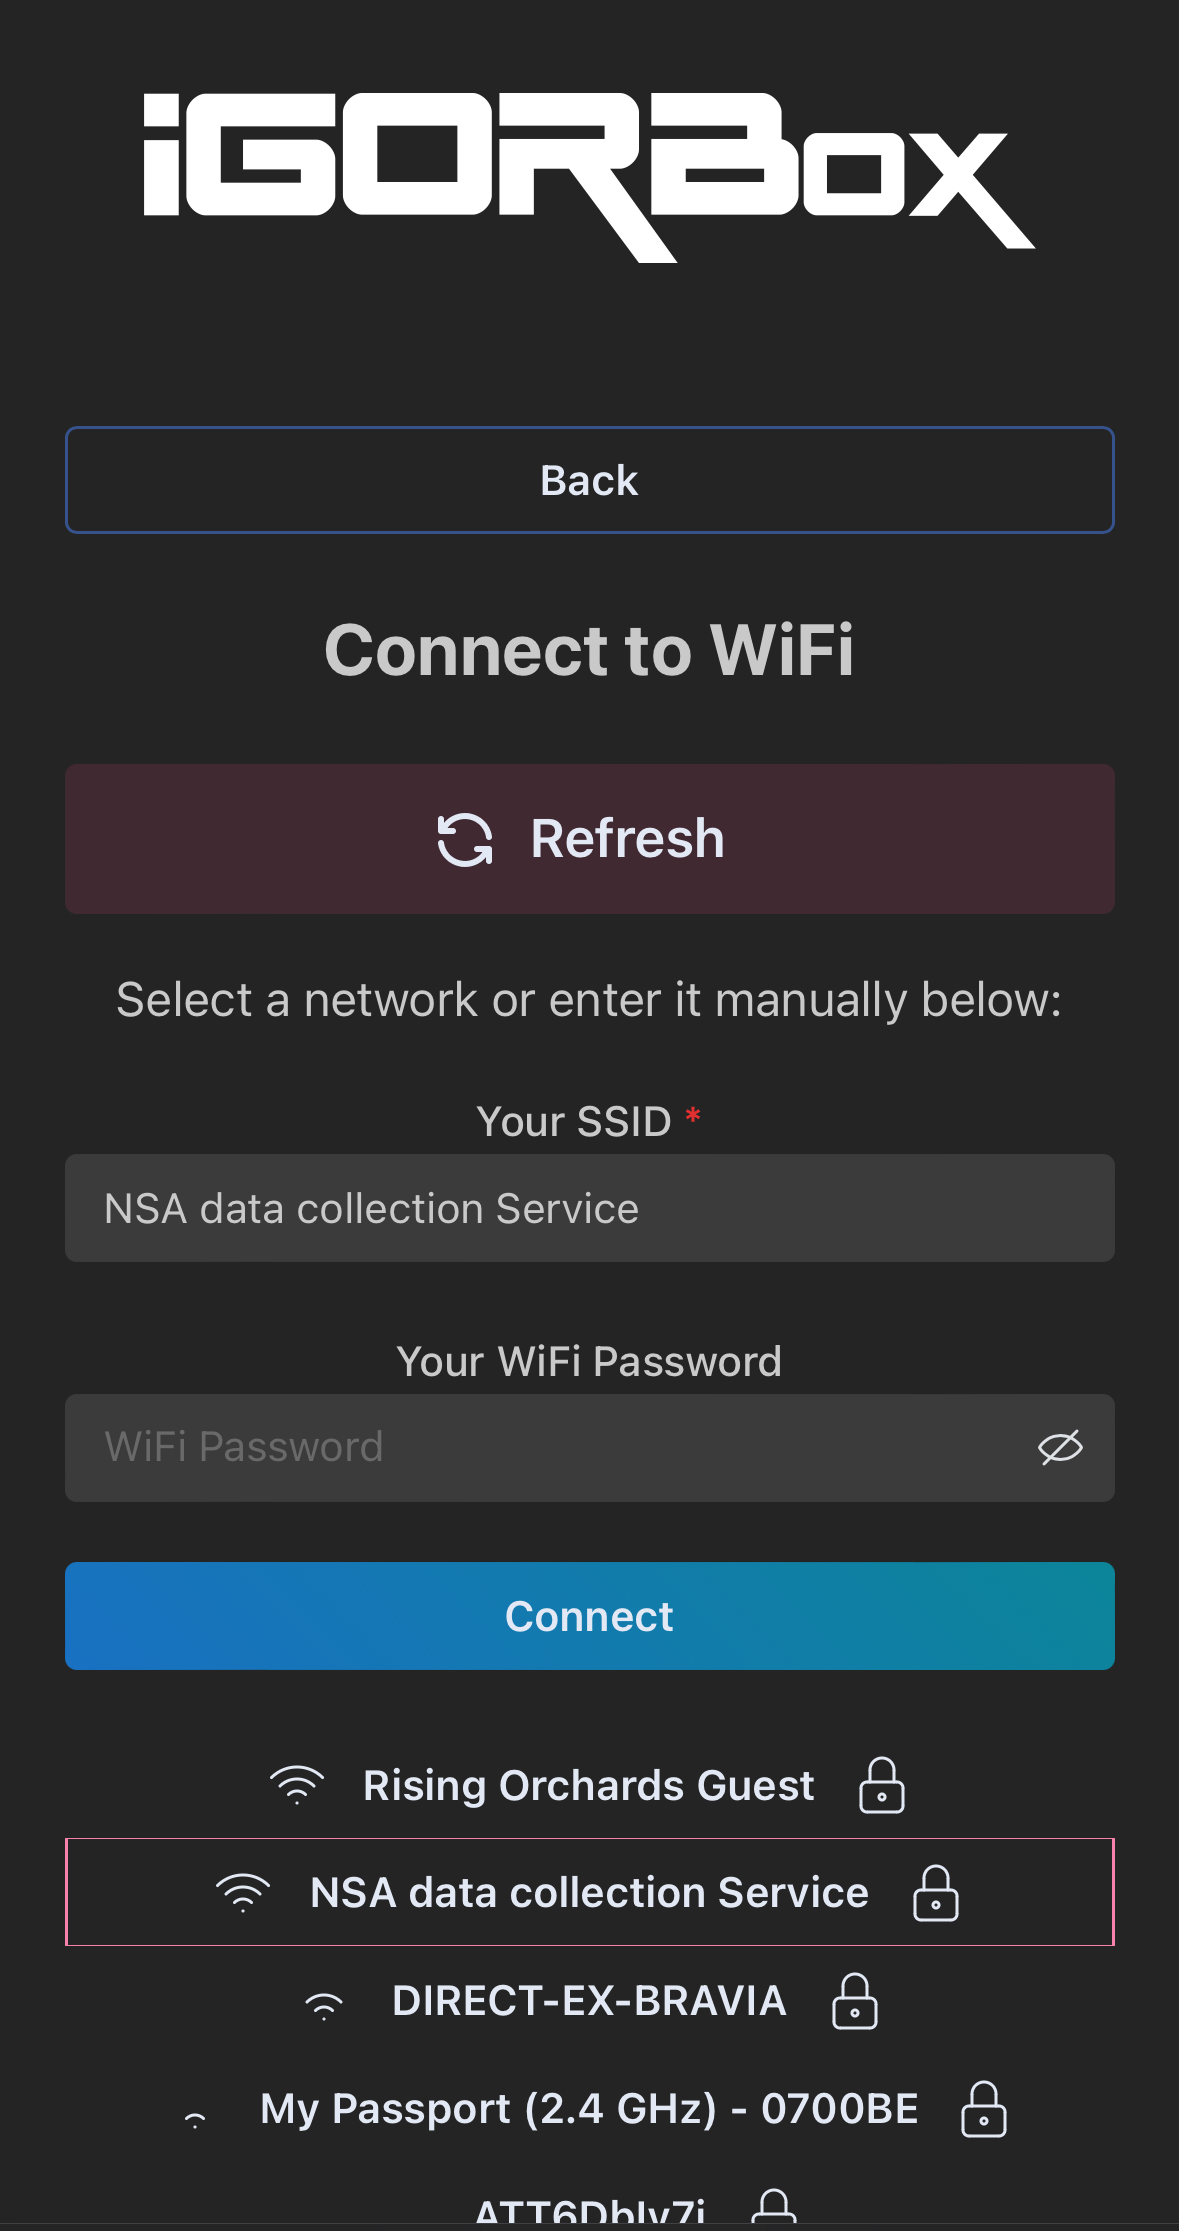
If there is no WiFi setup, you will be presented with the following screen:

You can click on the "Refresh" button to scan for WiFi networks again.
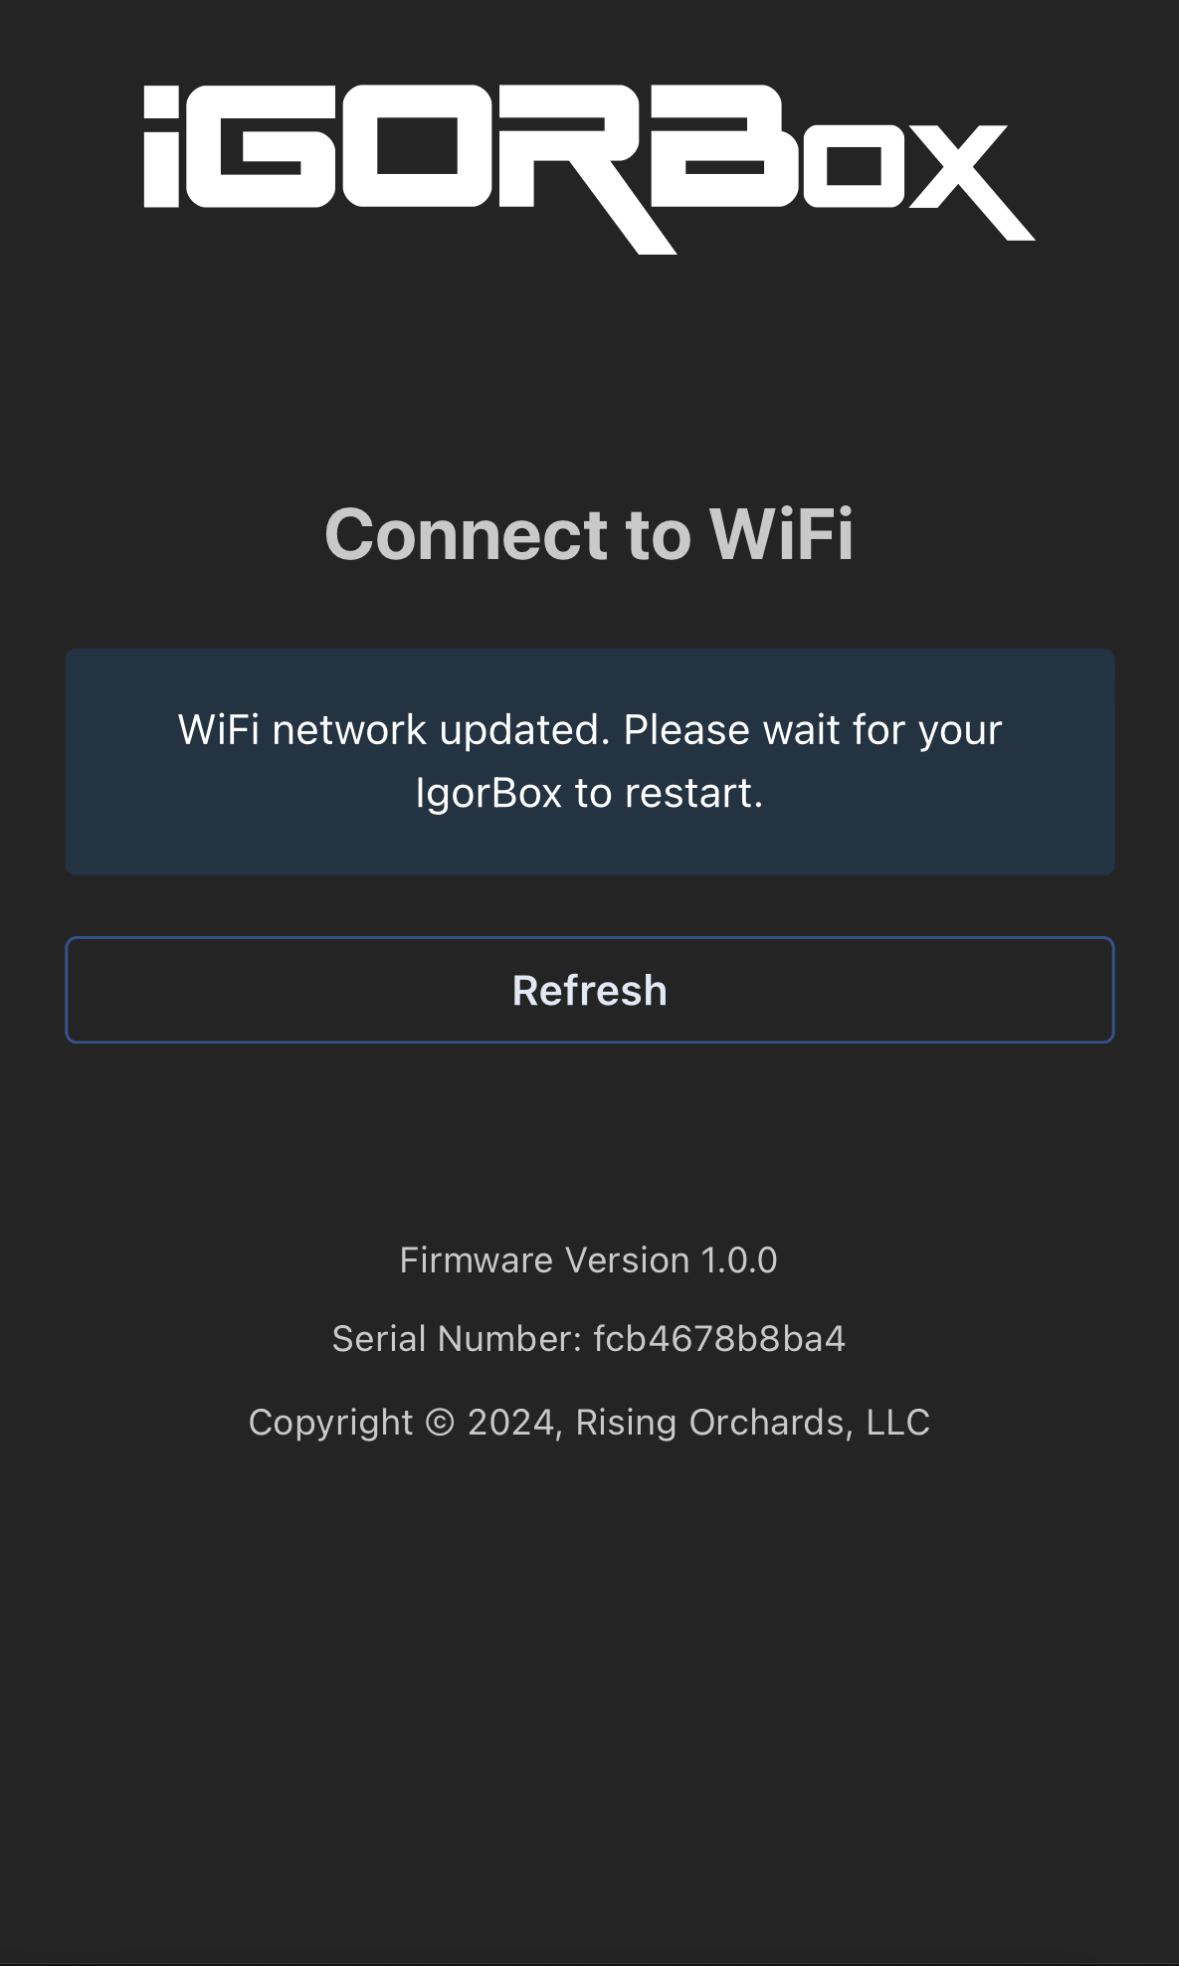
Select your WiFi network and enter the password. The IgorBox will connect to the internet and reboot.

Final Setup
Once the IgorBox is connected to the internet, it will automatically connect to IgorBox.com and pull its configuration settings. This process can take a few minutes.
Once the IgorBox is connected, you will see a connected status on your IgorBox page on IgorBox.com and you should now be able to manually control the box.
When the IgorBox boots, it will resync settings from IgorBox.com. So if you make changes to the settings, and something doesn't seem to be working, you can reboot the IgorBox to force a resync.
If you need to change your wifi credentials, you can use the Local Management Interface to update the settings.