IgorBox Connect
IgorBox Connect is a free app for iPhone and Android that sets up a controller's WiFi over Bluetooth. No Ethernet cable and no laptop required. You stand next to the controller, tap through a few screens, and the controller joins your WiFi.
It's the alternative to Magic Provisioning's "plug in Ethernet first" step. If you want a controller on WiFi from its very first boot, and you can't (or don't want to) run a network cable to it, this is the way.
The app talks to the controller over Bluetooth (specifically Bluetooth Low Energy, the same short-range wireless your wireless earbuds use). You don't need to be on the same WiFi network. You just need to be within a few feet of the controller, with Bluetooth turned on. That's also why the app can configure a controller that has no network connection at all yet.
When to use it
| Your situation | Best path |
|---|---|
| WiFi-only install, no Ethernet at the controller | IgorBox Connect (this page) |
| You can run an Ethernet cable, even just temporarily | Magic Provisioning over Ethernet. Add your WiFi in Studio Settings first and the controller picks it up automatically |
| Controller is already on your network | Nothing to do here. Manage it in Studio |
IgorBox Connect only does one thing: it gets the controller onto your WiFi. Pairing the controller to your Studio account still happens the normal way, using its setup ID. See What happens next below.
What you'll need
- An iPhone or Android phone with Bluetooth turned on (allow the app's Bluetooth permission when it asks).
- The IgorBox Connect app installed (App Store / Google Play).
- Physical access to the controller. You'll be asked to press its front button to prove you're really standing there.
- Your WiFi network name and password.
Get the controller into Setup Mode first
The app can only find a controller that's in Setup Mode: powered on, with no working network connection. A controller is in Setup Mode when both of these are true:
- It has no saved WiFi: it's brand new (or freshly factory reset), or you've cleared its WiFi by holding the front button for ~7 seconds at power-on (see Front Button).
- It has no Ethernet cable plugged in.
You'll know it's ready when the status LED is doing a slow blue pulse (Setup Mode / No Network). If the controller is plugged into Ethernet or already has WiFi, it won't appear in the app. Unplug the cable or forget WiFi first.
Step by step
1. Open the app and scan
Open IgorBox Connect. It starts scanning for nearby controllers right away. Your controller shows up by its model and serial number (for example, IBIN16_000005), along with its Bluetooth signal strength.
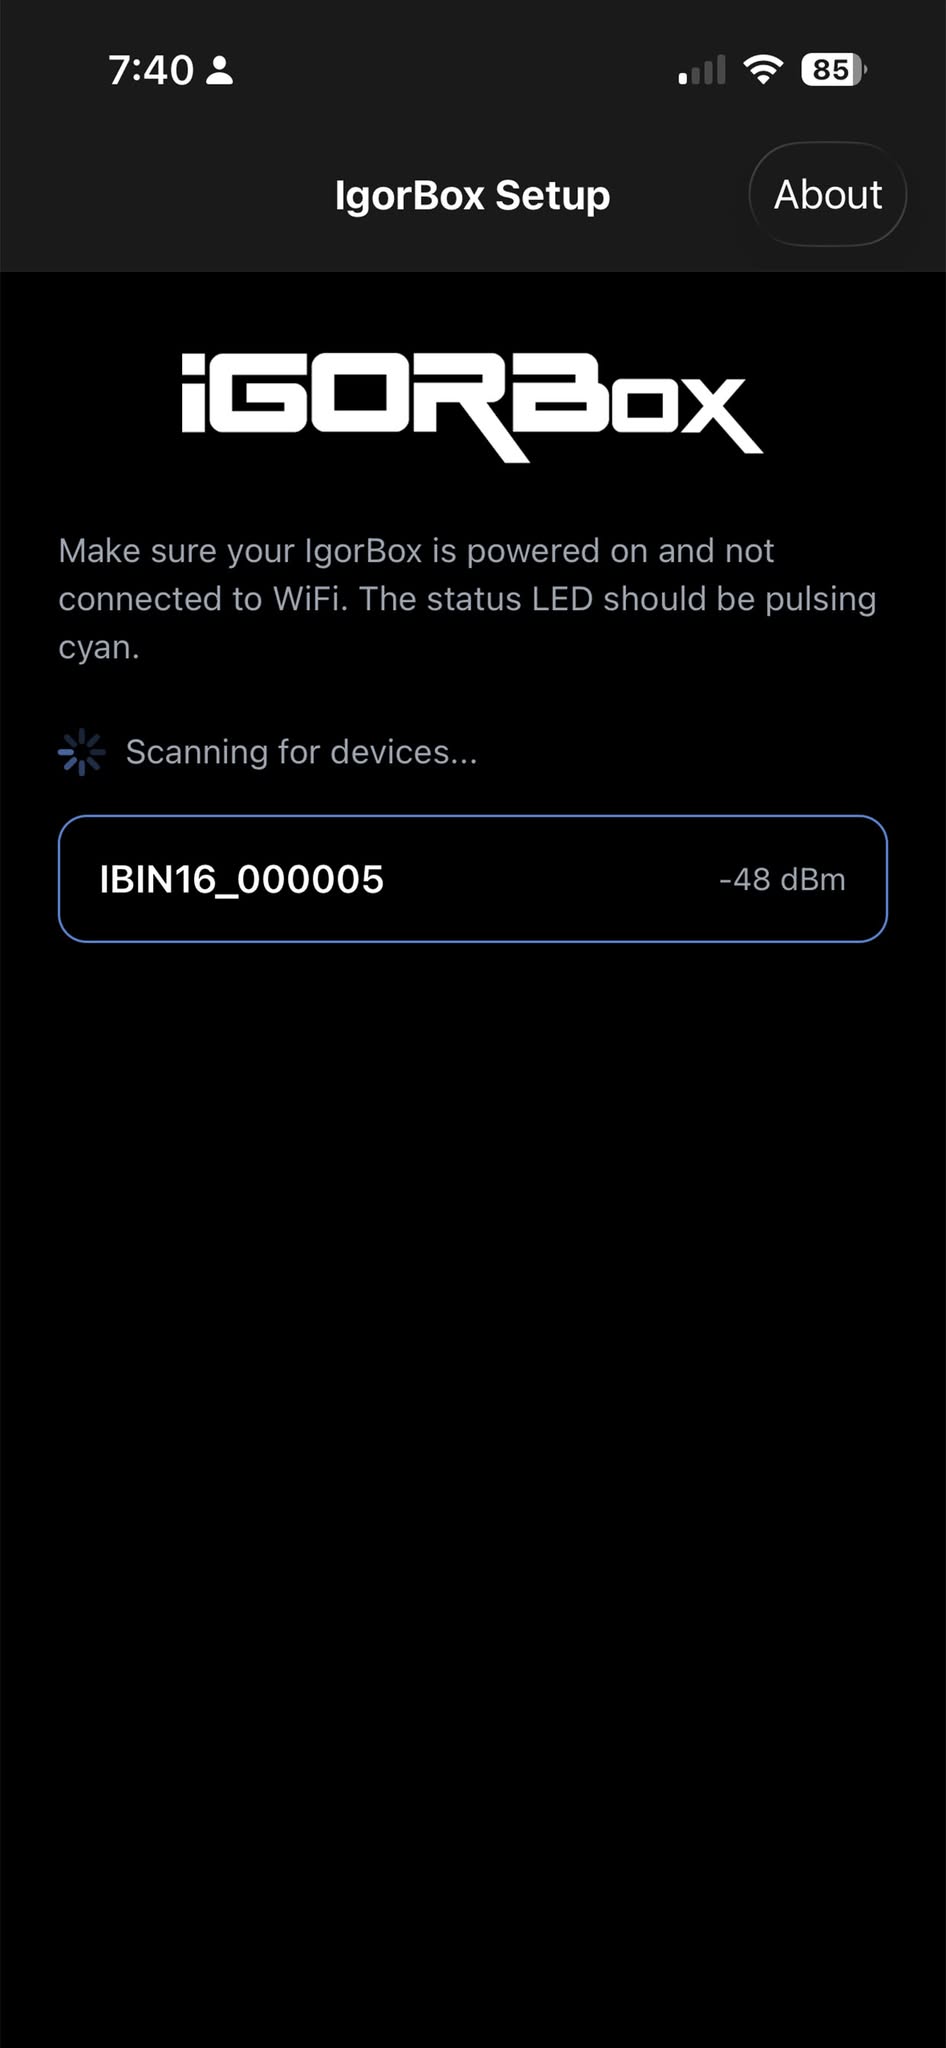
Make sure the controller is powered on, in Setup Mode (slow blue pulse), and has no Ethernet plugged in. Then make sure Bluetooth is on and you're within a few feet of it.
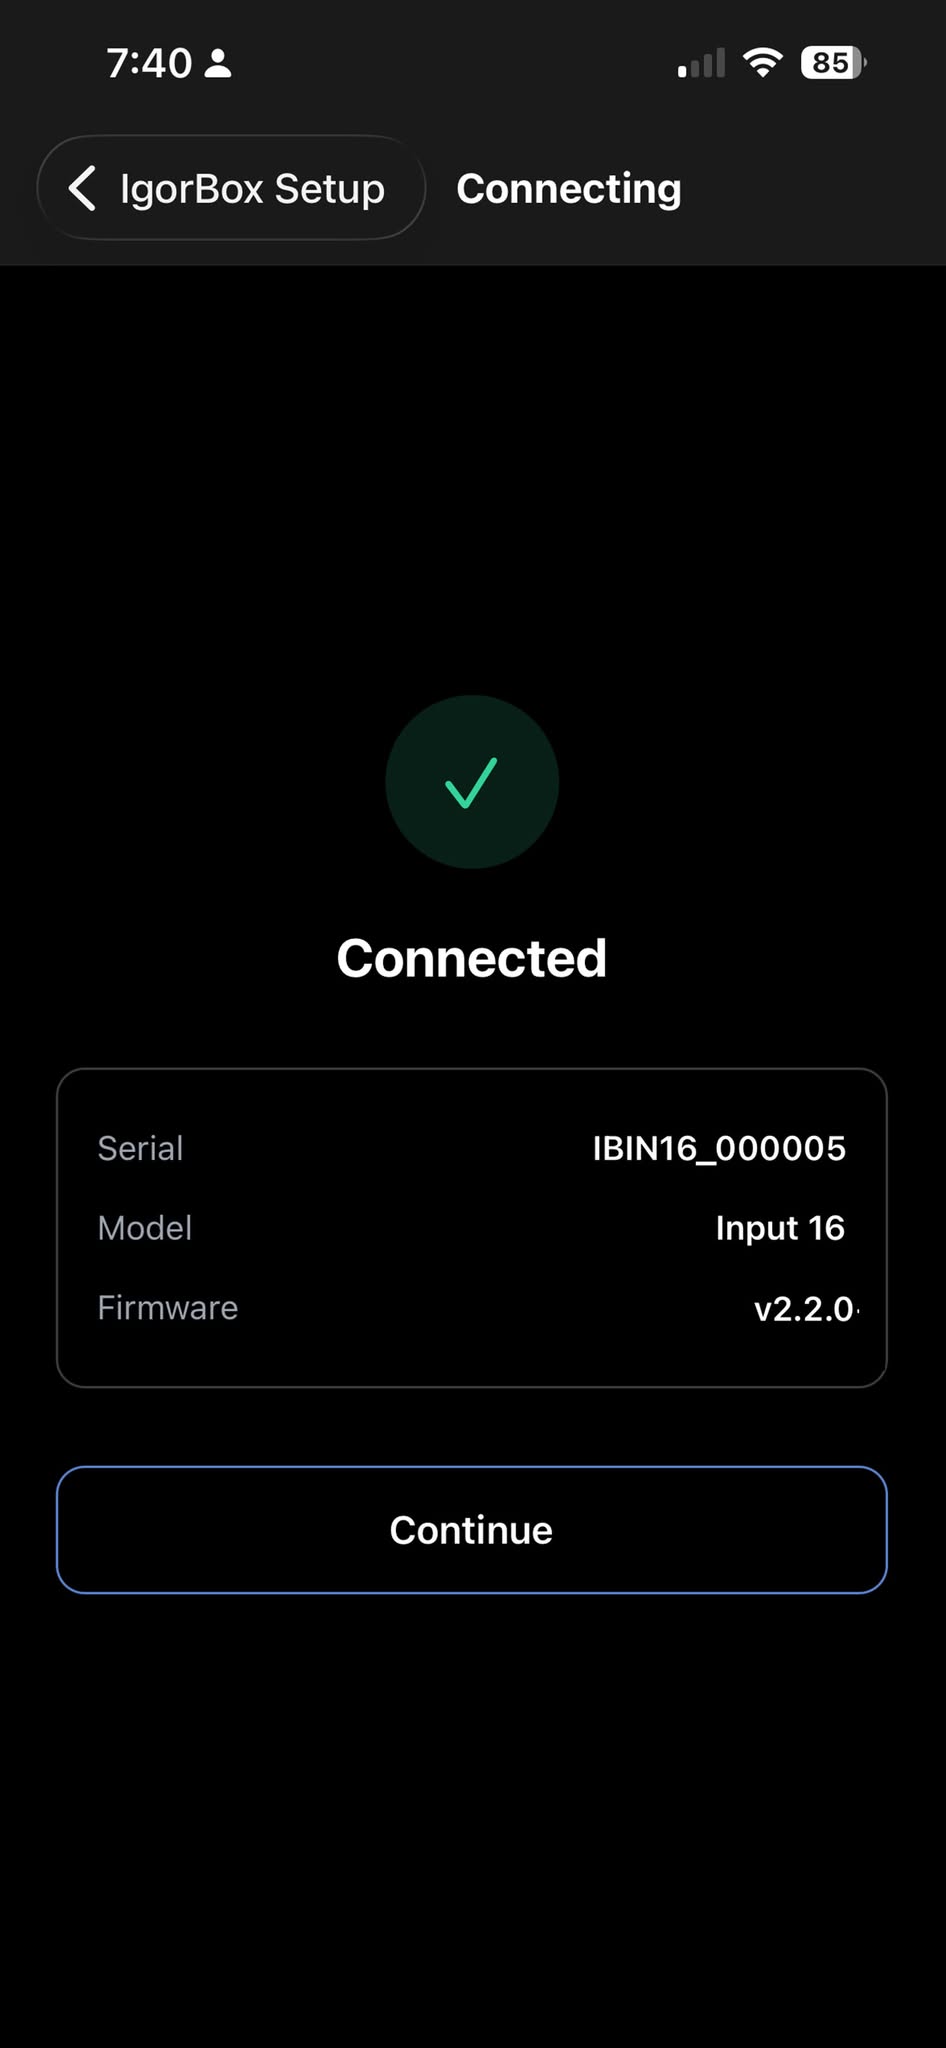
2. Connect and confirm it's the right controller
Tap your controller. The app connects over Bluetooth and reads back its serial, model, and firmware version so you can confirm you've got the right one. Tap Continue.
3. Authorize at the controller
This is the security step. Tap I'm Ready - Start Authorization. The controller's status LED starts blinking blue quickly. Go press the front button on the controller within 30 seconds.
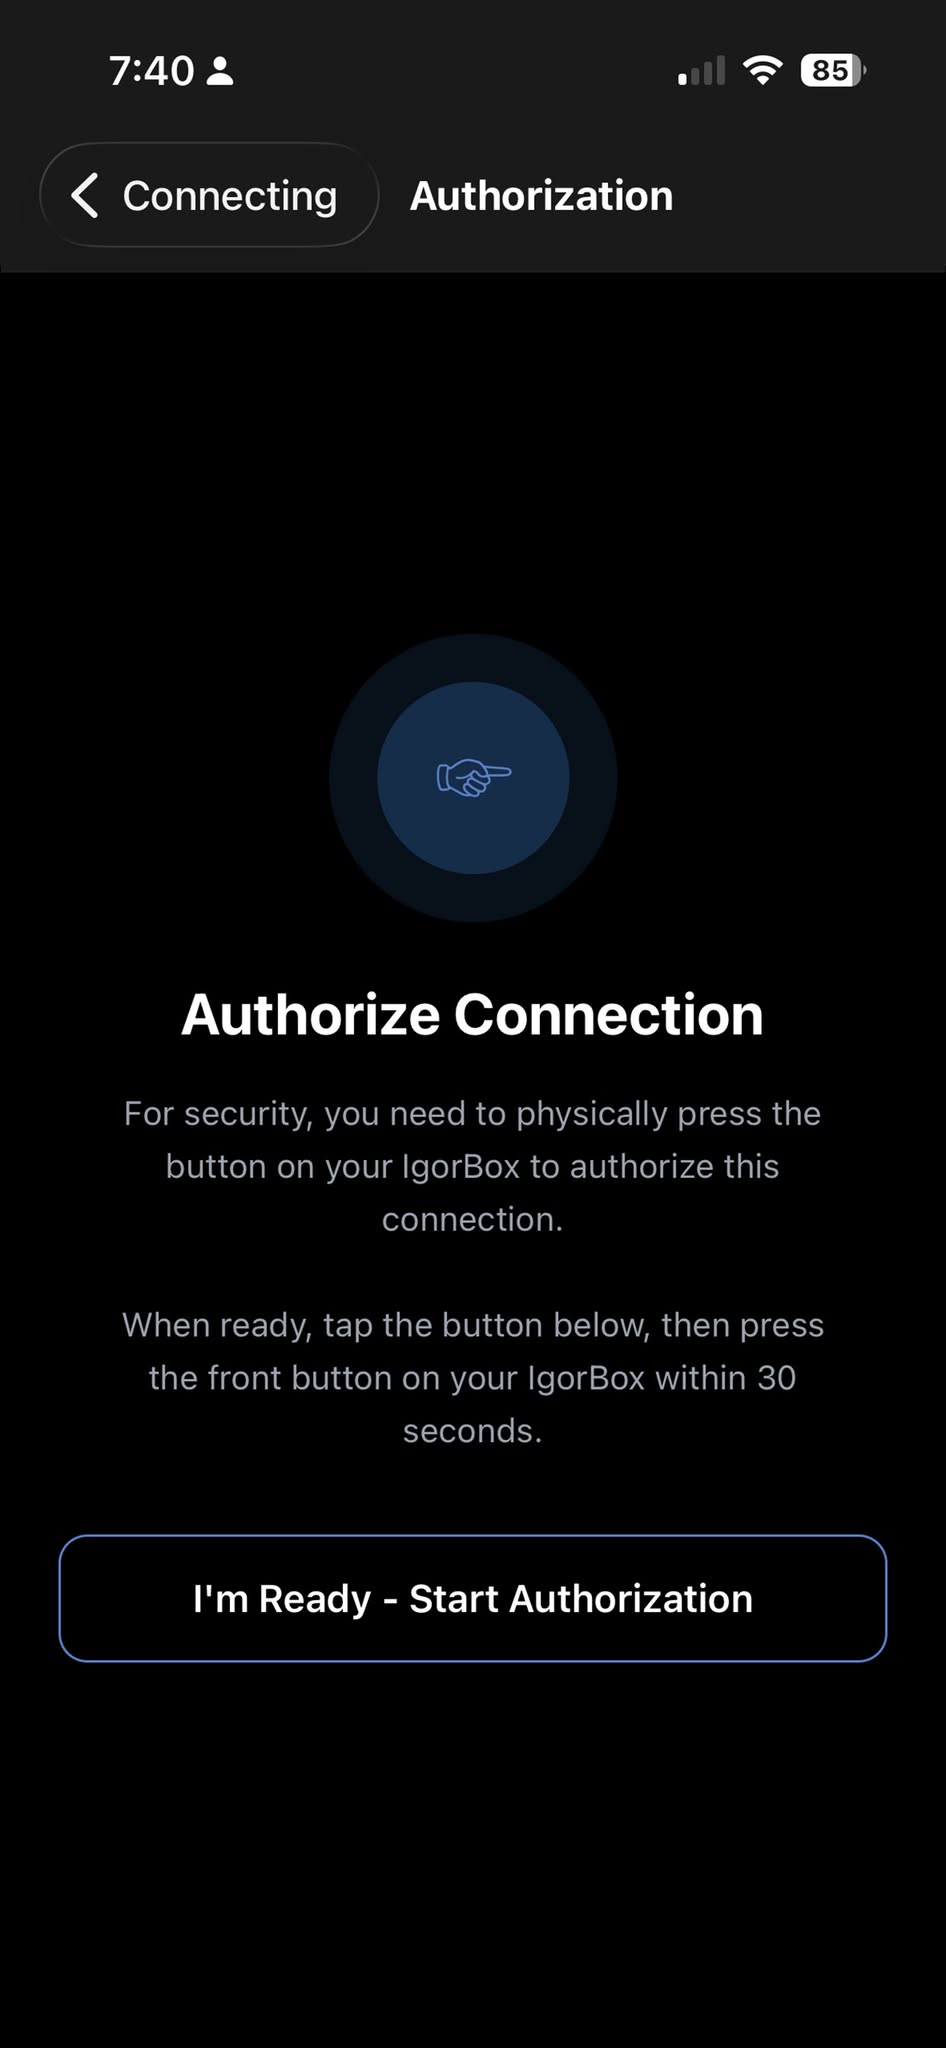
Why this exists: it proves the person setting up WiFi is physically standing at the controller. Since a controller in Setup Mode has no network security around it yet, the button press stops anyone nearby (a curious guest, a stranger with the app) from quietly hijacking an offline controller. If the 30 seconds run out before you press it, the controller disconnects and you just start over.
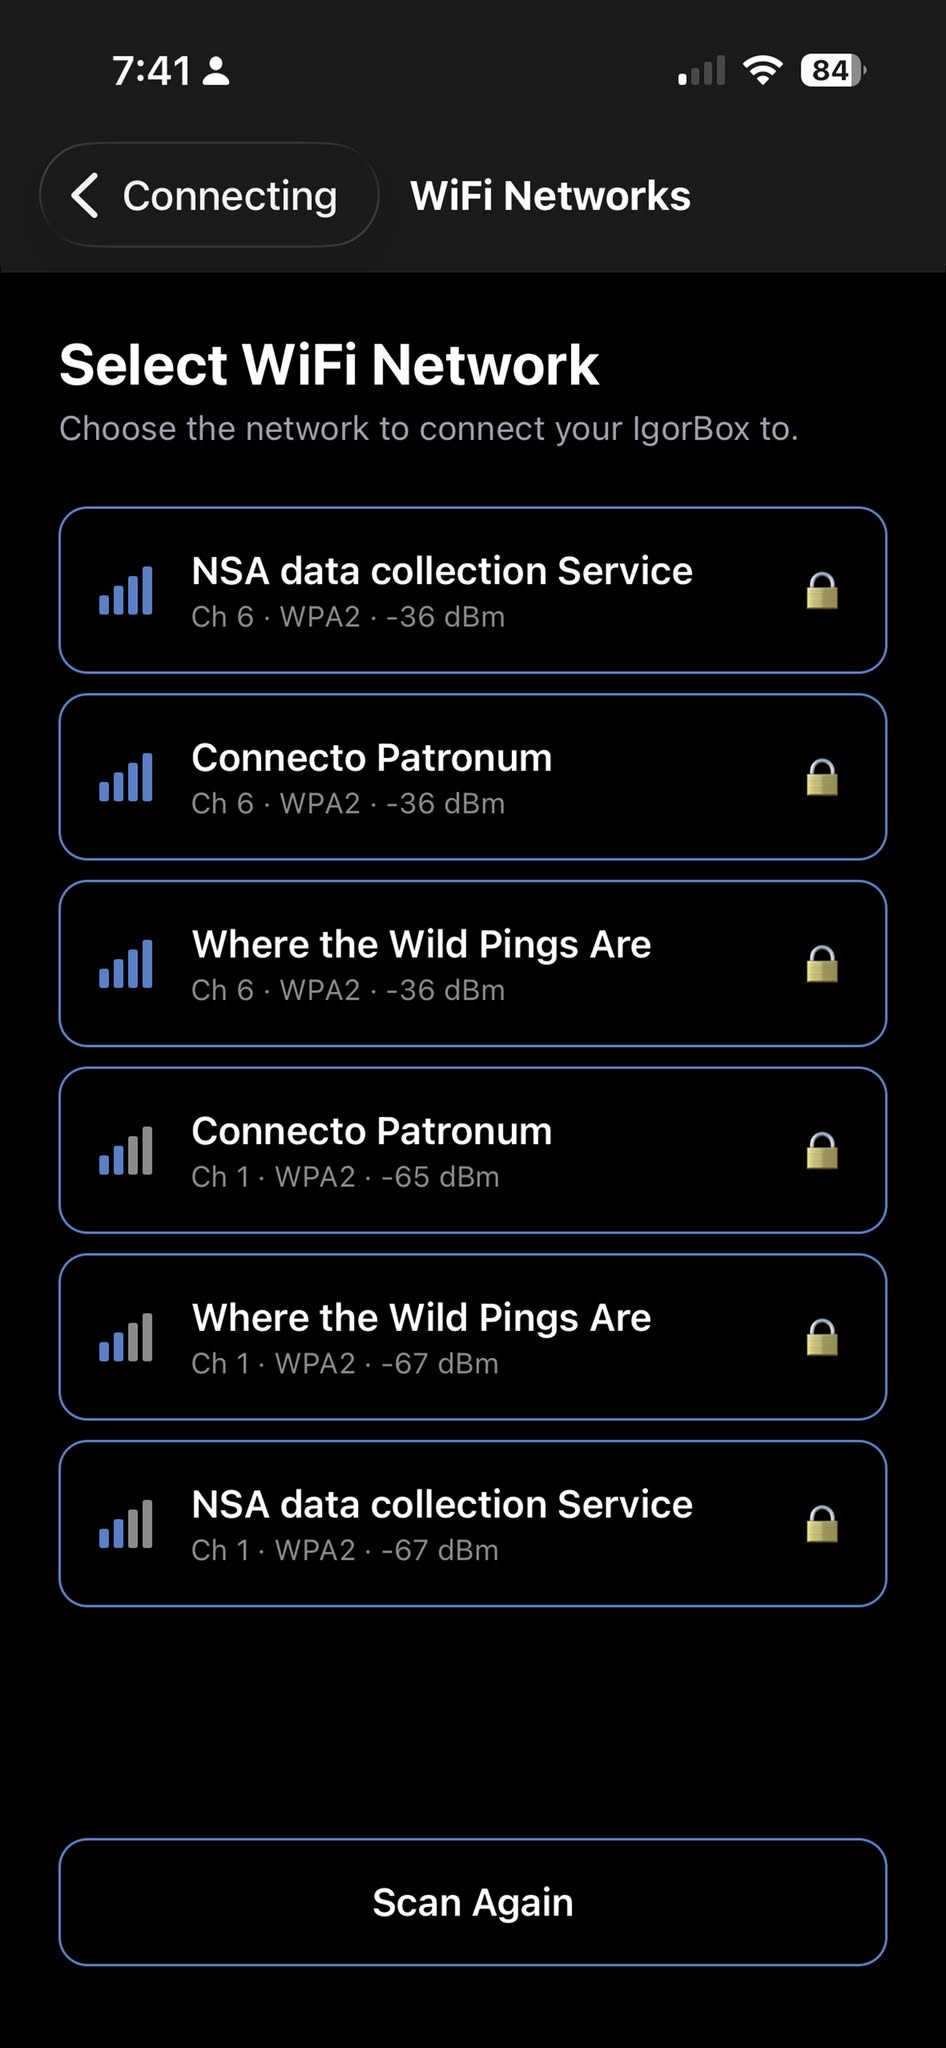
4. Choose your WiFi network
The controller scans for WiFi networks in range and the app lists them, strongest first, with the channel, security type, and signal strength. Tap the network you want the controller to join.
5. Enter the password and connect
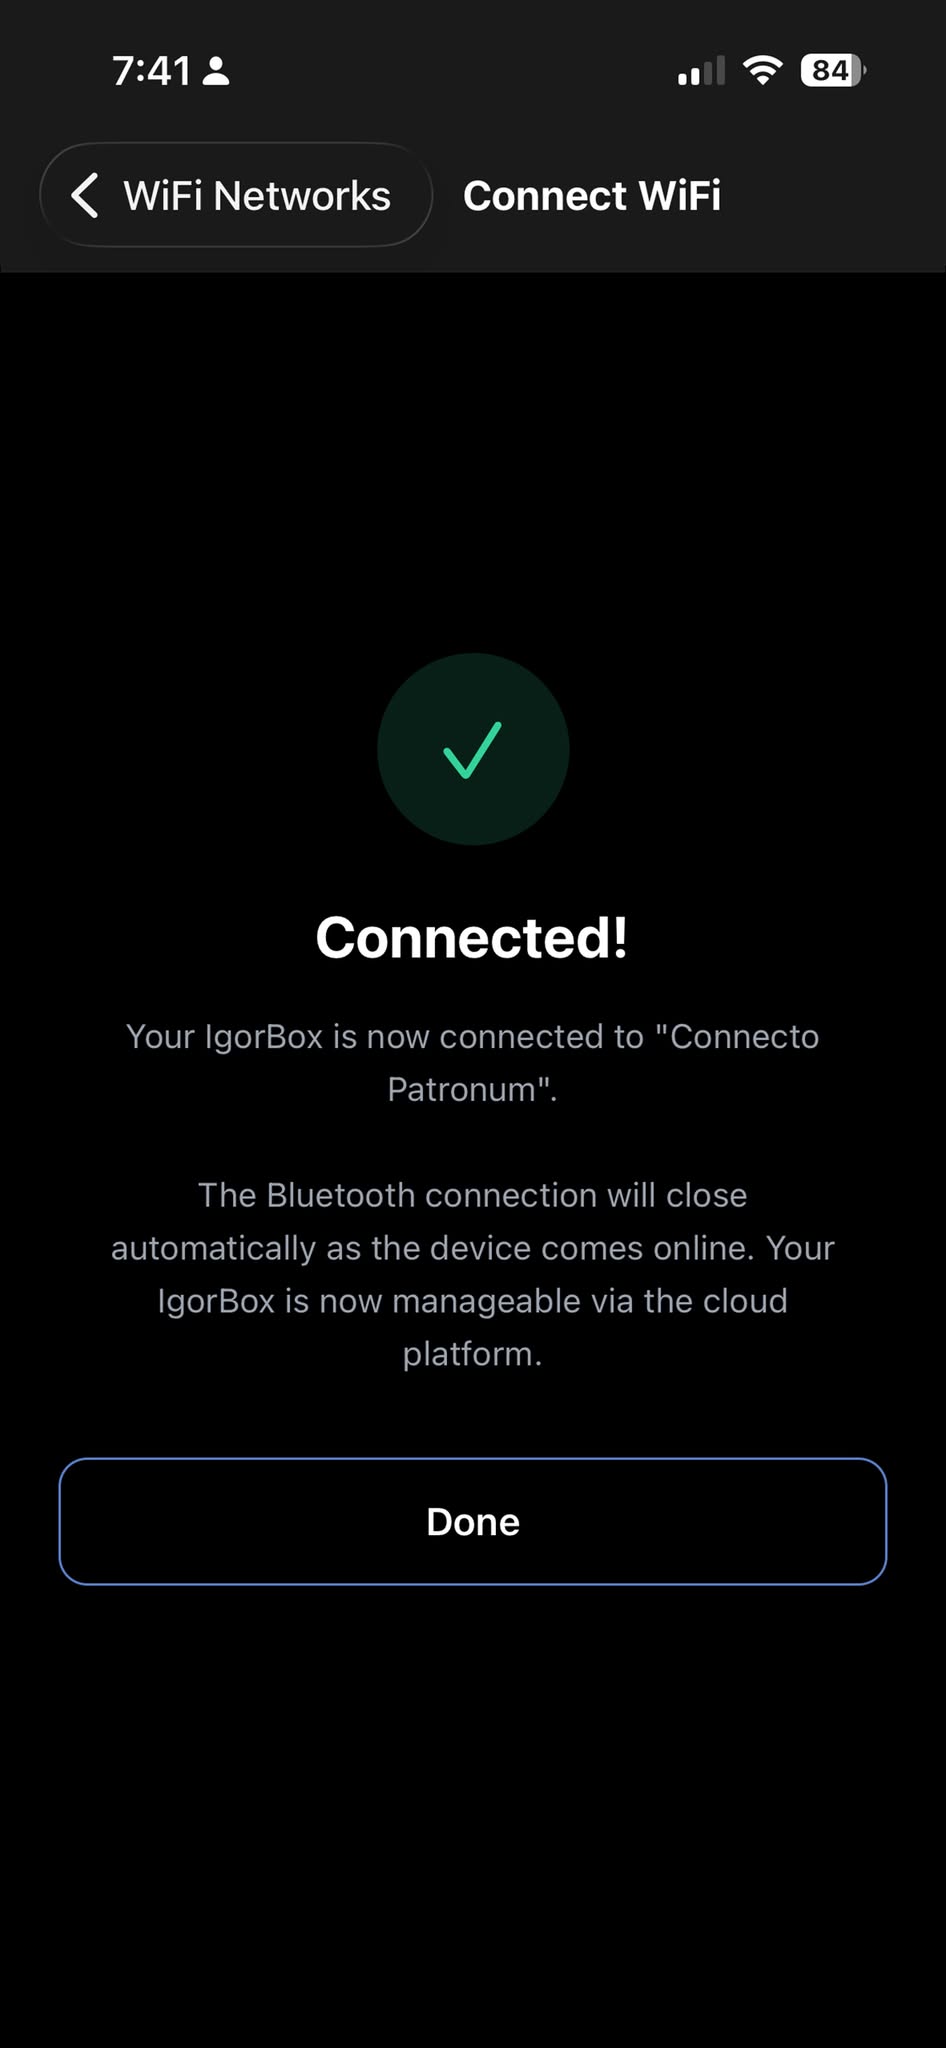
Type the WiFi password (open networks skip this) and tap Connect. The controller saves the credentials and joins your WiFi. Once it's online, the Bluetooth connection closes on its own. That's your signal it worked. Tap Done.
What happens next
Your controller is now on WiFi and reaching the internet. From here it's the same as any other online controller:
- Already added to your Studio? It will reconnect to your account on its own. The status LED settles to solid green (Idle / Ready) once it's paired and happy.
- Brand-new controller? Finish setup the normal way: add it in Studio using its 8-character setup ID. See Magic Provisioning. (IgorBox Connect handles the WiFi; Magic Provisioning handles pairing it to your account.)
Status LED reference, built into the app
Tap About → Status LEDs in the app for a quick, animated reference of every status LED state, using the same colors and patterns the controller uses in the field. Handy when you're standing at a controller trying to read what it's telling you.
For the full breakdown of what each color and pattern means, see Status LED.
Troubleshooting
| What you see | What's likely happening |
|---|---|
| Your controller never appears in the scan list | It's not in Setup Mode. Confirm the status LED is a slow blue pulse, that no Ethernet is plugged in, and that any saved WiFi has been cleared (forget WiFi). Also check that Bluetooth is on and you're close to the controller. |
| Authorization times out | You have 30 seconds after tapping Start Authorization to press the front button. Tap to start over and press it a little sooner. |
| "Connection failed. Check the password…" | Re-enter the WiFi password (it's case-sensitive) and make sure the controller is within good range of the access point. |
| It connected, but the controller still shows offline in Studio | Being on WiFi gets it on the local network; reaching Studio needs internet. Check the Connectivity requirements (DNS and outbound HTTPS to the IgorBox domains). |
| The LED keeps slow-blue-pulsing after setup | It didn't hold the connection. Re-run the steps; if it persists, the WiFi may be out of range or the password wrong. |